The making of Lost Teddy Found installation
Over the course of 4 months (July-October 2012), I collected every lost object that I found on my travels and took field recordings (audio/photos/film) of each object in its original environment with the idea in mind to create some sort of digital lost and found installation, Lost Teddy Found (name taken from one of objects that I found during the project entitled Lost Teddy Found).
I ended up almost feeling sorry for each object that I had found, wondering what the story was behind each object and every discovery led me to ponder the following questions: how did it get there, who did it belong to, what did it mean, was it trash or a precious belonging, does the owner miss it now, what will be become of it etc? I decided that I wanted to transform the collected objects, give them a new narrative and make them come to life.
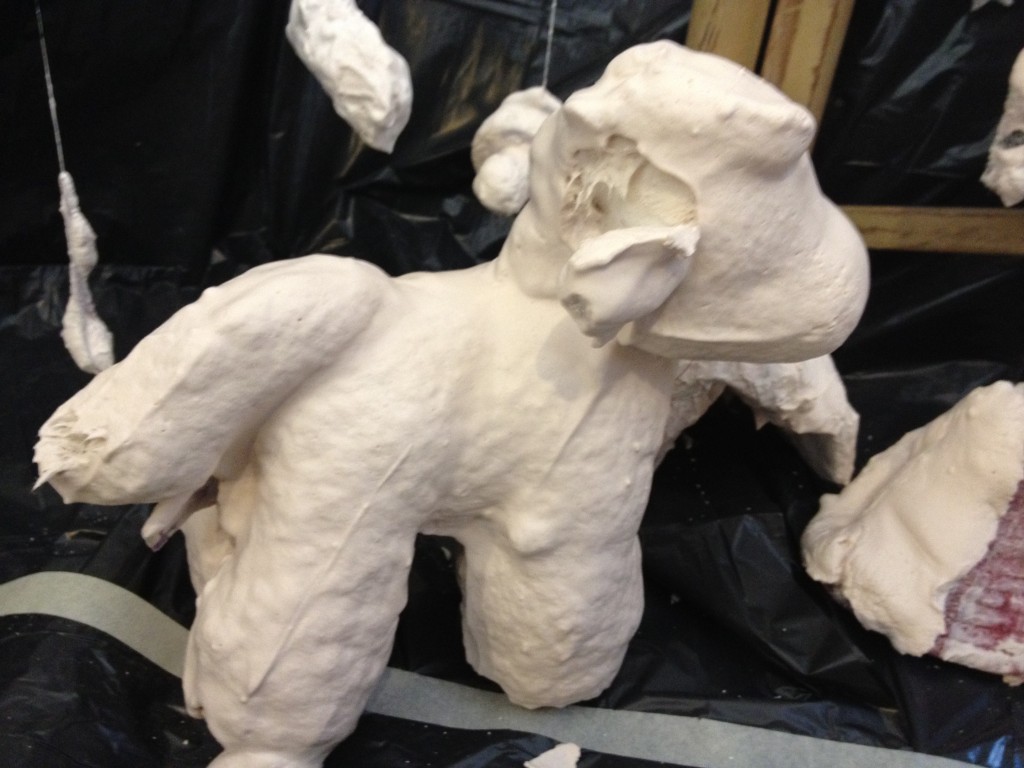
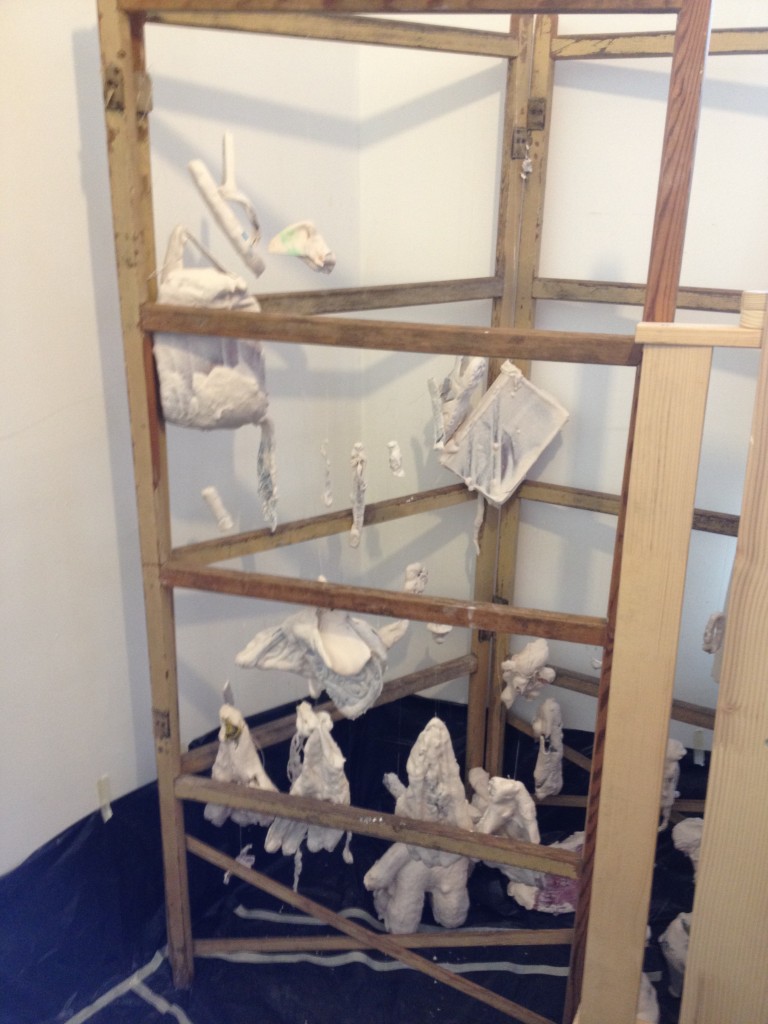
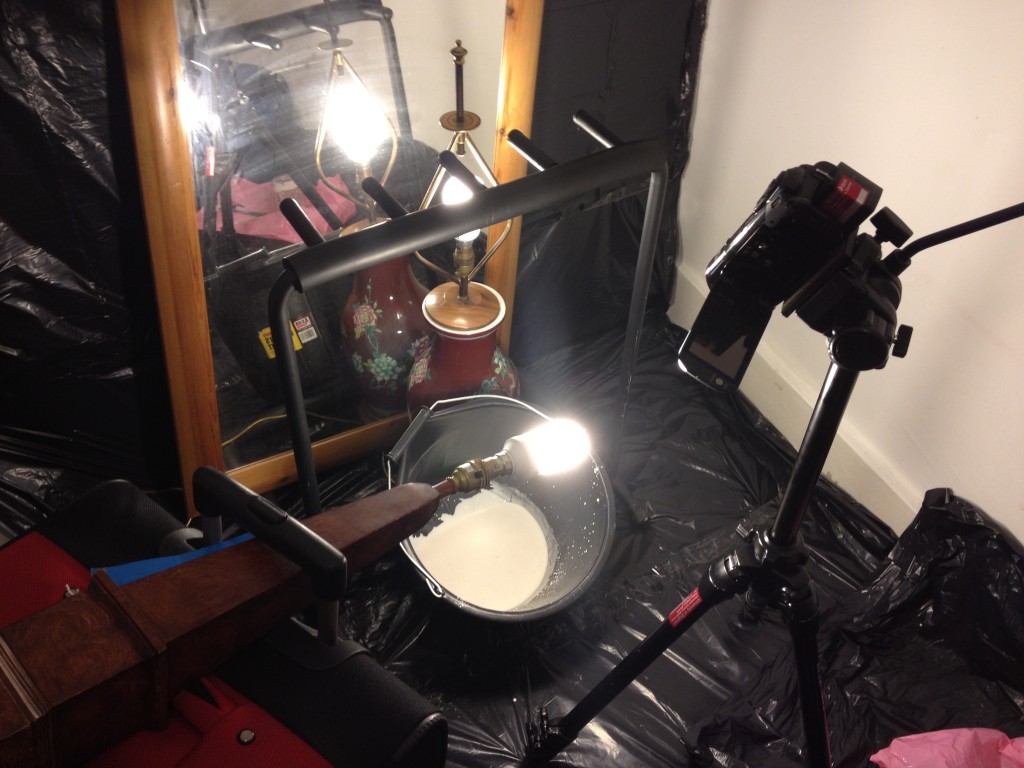
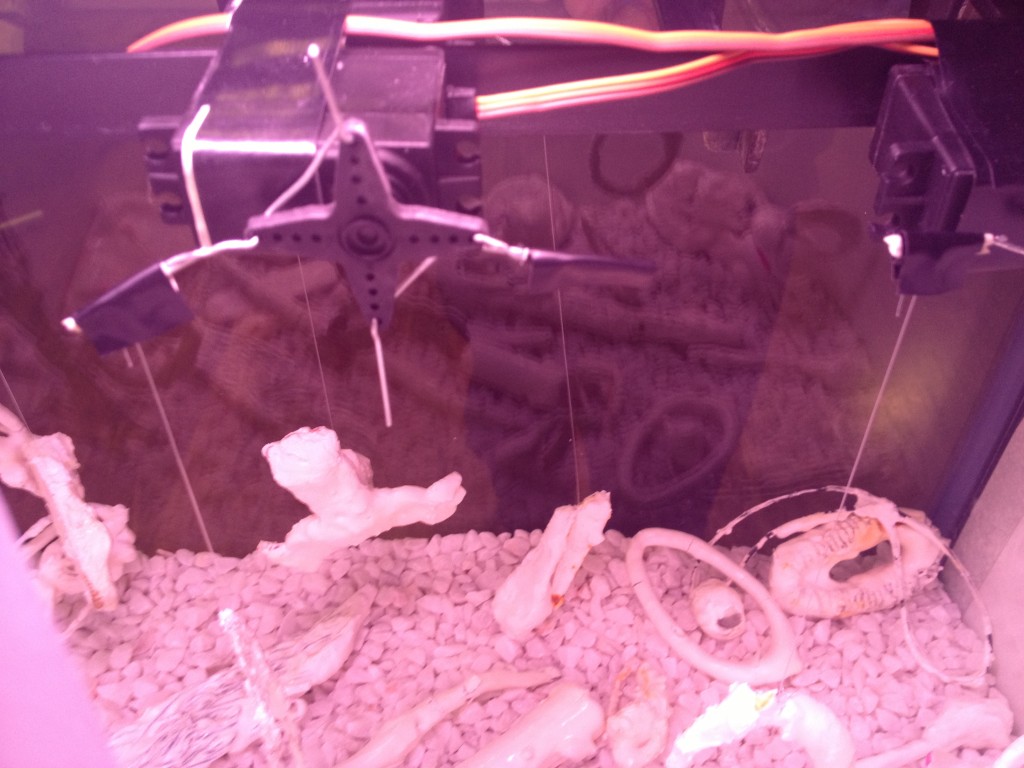
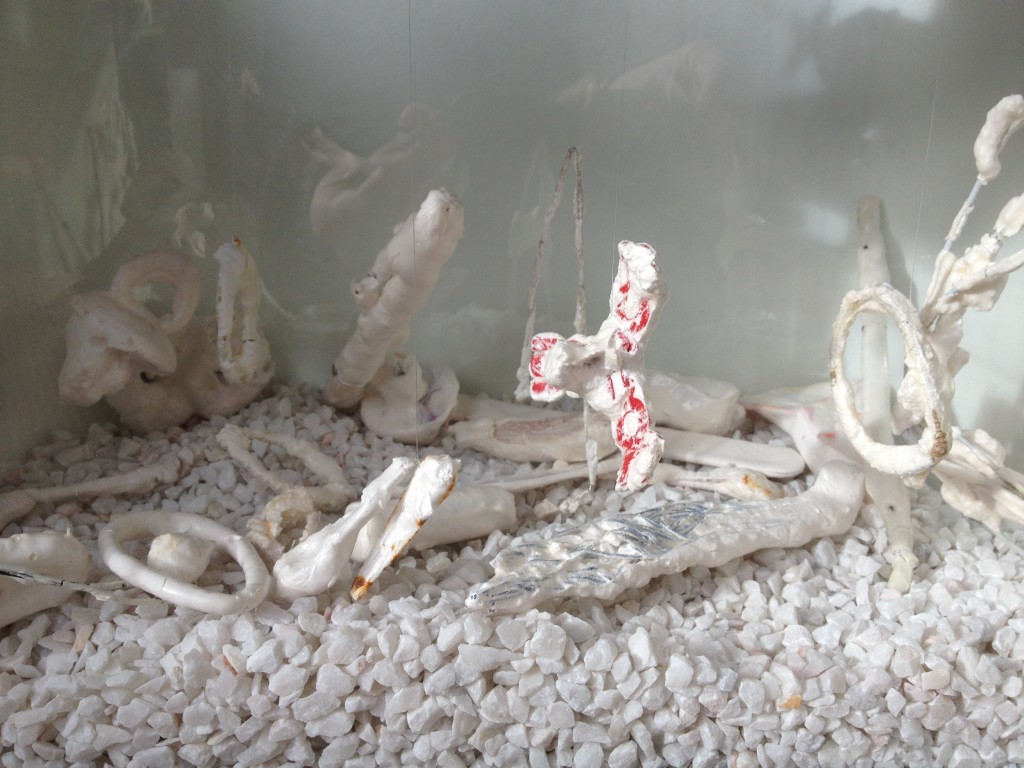
I started by ‘converting’ the objects into 3D sculptures by dipping them in plaster of paris so they formed a hard, clay-like structure before preserving in PVA glue. I suspended them in fish tanks attached to servo motors so when triggered, they danced around.
This then led me on to thinking about how I could animate them, make them interactive and seem like they were alive somehow.
Ideas on how to make lost and found objects become ‘alive’ and move interactively
Animatronics/robotics: Use animatronics or some kind of robotic/electronic system with a sensor, so as you get nearer the object, it starts to move. It could even move in the direction of the viewer, e.g. from left to right, follow the viewers movements or the intensity of movement could increase with viewers proximity.
Mechanical movement:
- Pulley system – object will go up and down
- Levers on object – so it kind of jerks around
- Floor movement
- Swivelling/pivot
Projections/audio: Edit the footage I have collected into a short film or animation and project onto objects/object surroundings to make them seem moving.
Sound: Use the sound clips I collected to create audio tracks that get played as you get near the objects. Perhaps sound could increase depending on audiences proximity.
How to make interactive
Processing: create a code in processing that will use motion detection frame differencing via webcam
- FrameDifferencing
- PlaySound
- MoviePlay
NB. The camera will also pick up the films when they are projected and set itself off. Need to figure out how to ignore motion when I change the picture. Experiment to find the best combination on background/objects foreground:
- Black screen with white objects
- White screen with black objects
If using lots of objects, I would have to group the objects into areas so movement in different areas sets off different films. I could think about using infra red filter on the webcam to increase contrast to make frame differencing more effective.
Arduino: Include use of Arduino into design so elements can be controlled by one thing and synced.
Sensors:
- Webcam
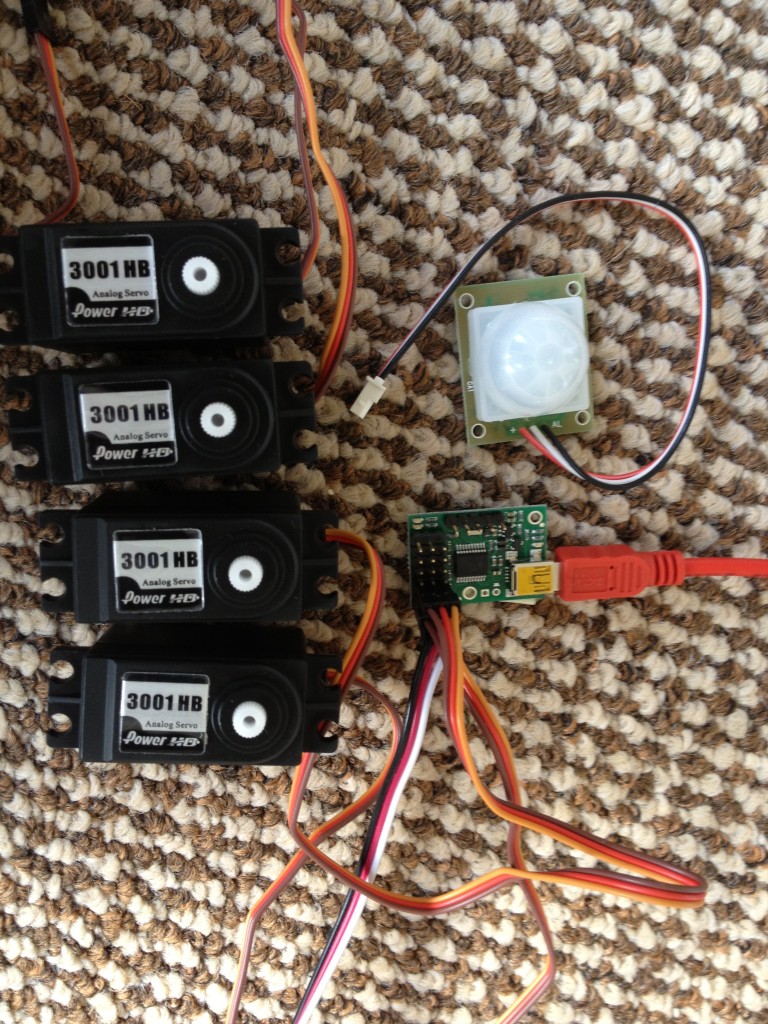
- PIR motion detection
- Ultrasonic range sensor
Using servos with microcontroller and software
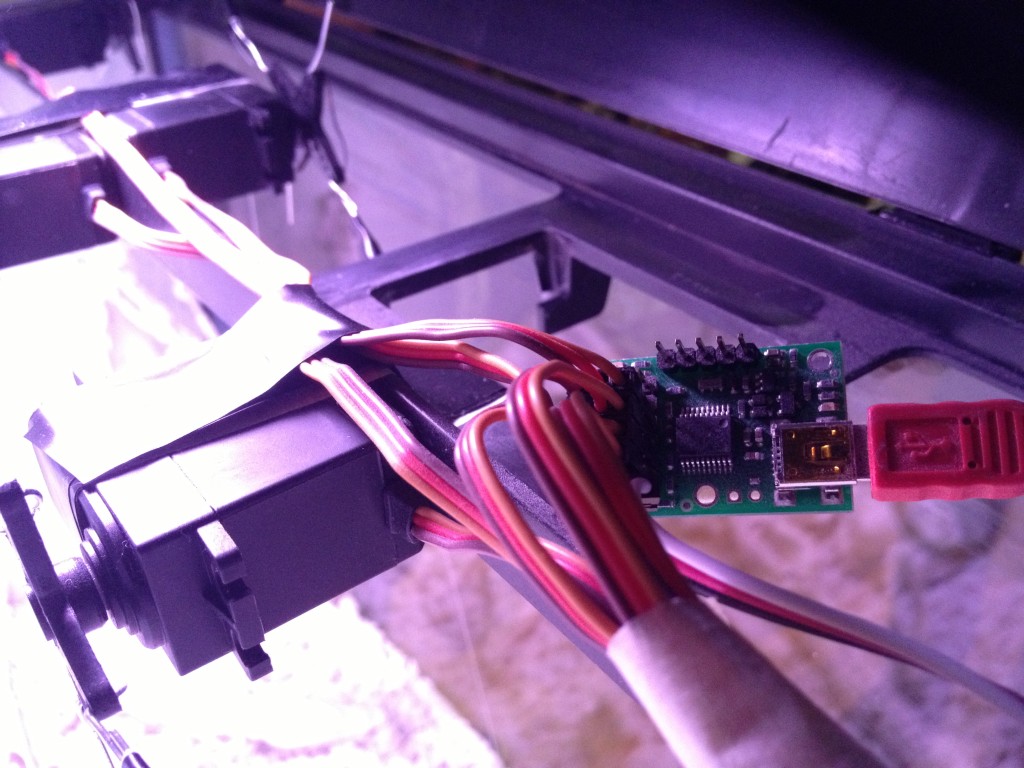
Having carried out loads of research and looked at online tutorials (mostly via Instructables.com), I invested in a bunch of servo motors and a Maestro microcontroller to attach somehow to my objects and experiment with ways in which to make them move:
Windows
I had to install Windows on my Mac to run the software for the Microcontroller.
Problem solving
After a week of scratching my head because I couldn’t get the servos to move after setting them up with microcontroller, I found out from online research that you also need a power supply.
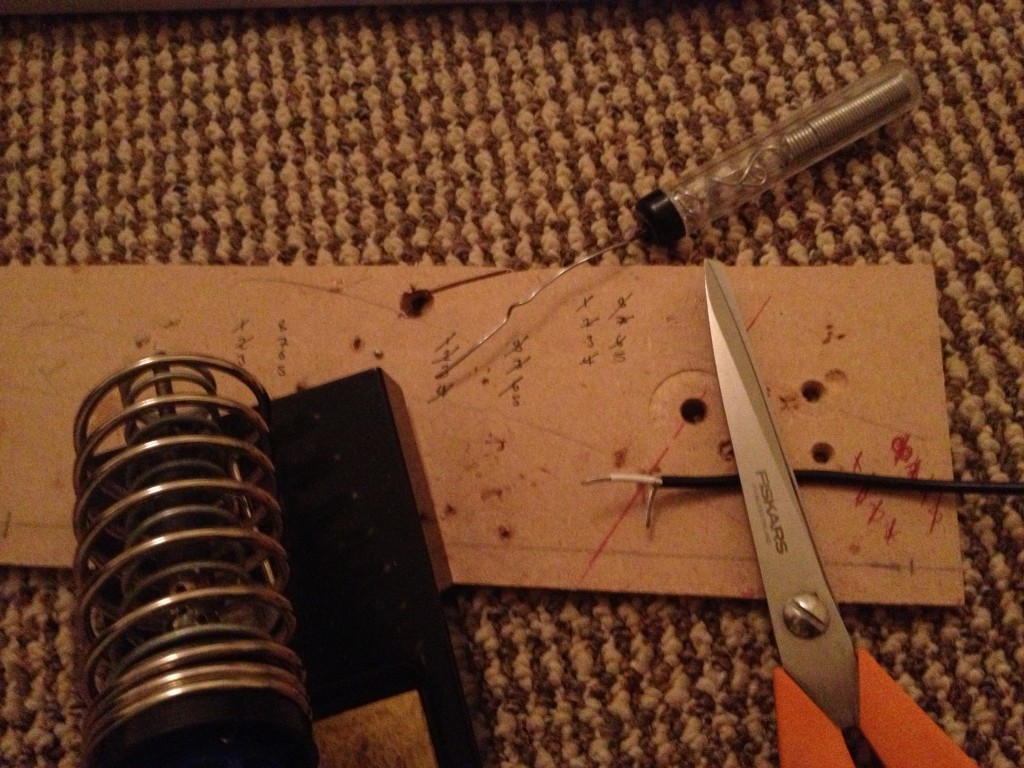
I had to buy a 6V power adapter, chop the end off and solder it to a female 3 pin servo extension lead. Fortunately this set-up seemed to work adequately.
Inspiration from research into making objects move
Banksys sausage zoo
Weird creature collection from Flight of the Navigator
Nathaniel Millers singing heads
Pinokio intelligent lamp
Animatronic baby
Animatronic cat ears tutorial from Instructables website
Learning to use Microcontroller software
As I mentioned earlier, this needed Windows to be installed on my Mac to run. The software itself is quite straight forward, although slightly clunky, you have to set every movement for the servos then save it frame by frame and can add in code to use other commands. See screenshots below.
Editing soundtrack and film
I had a bunch of clips and audio saved from when I originally collected the lost sand found objects. I used Logic to create audio by chopping up and looping the sound recordings along with adding live synth and other samples more for aesthetic purposes. I did similar with the film clips and imported the soundtrack into iMovie to work along to.
Projecting film onto tanks
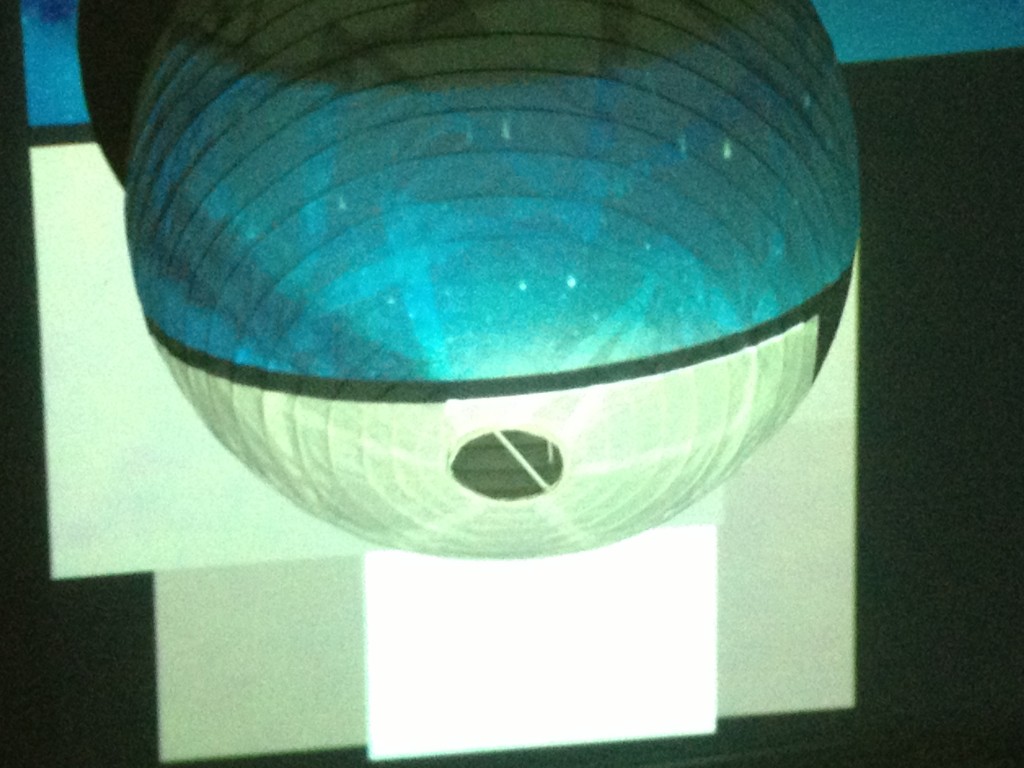
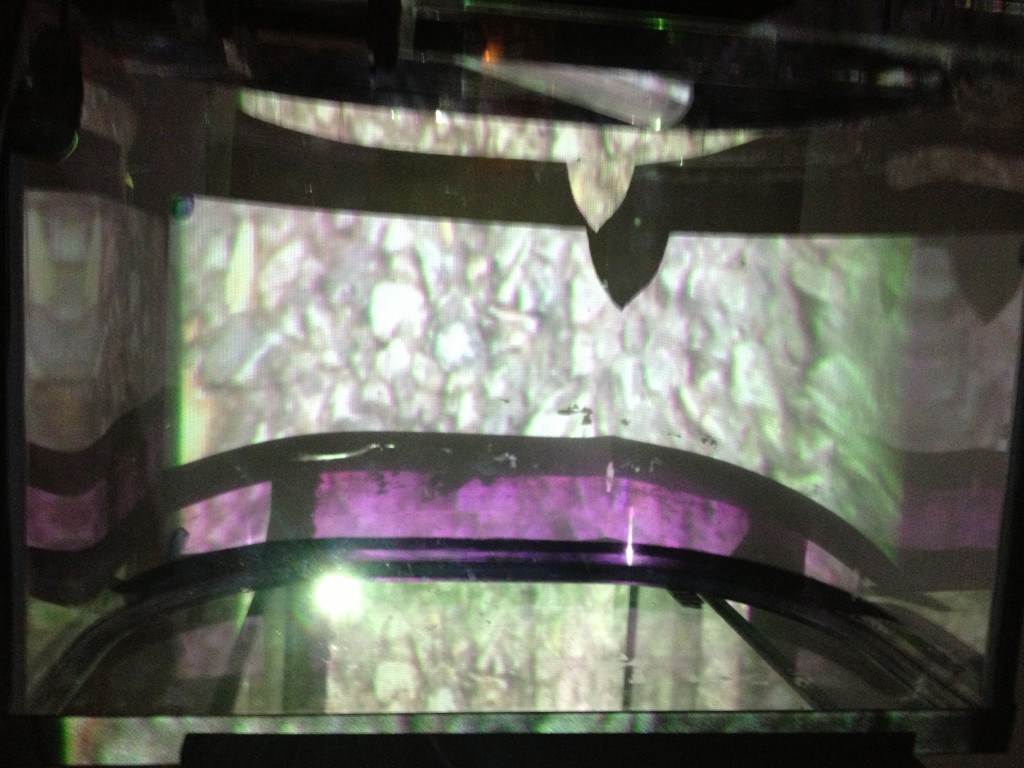
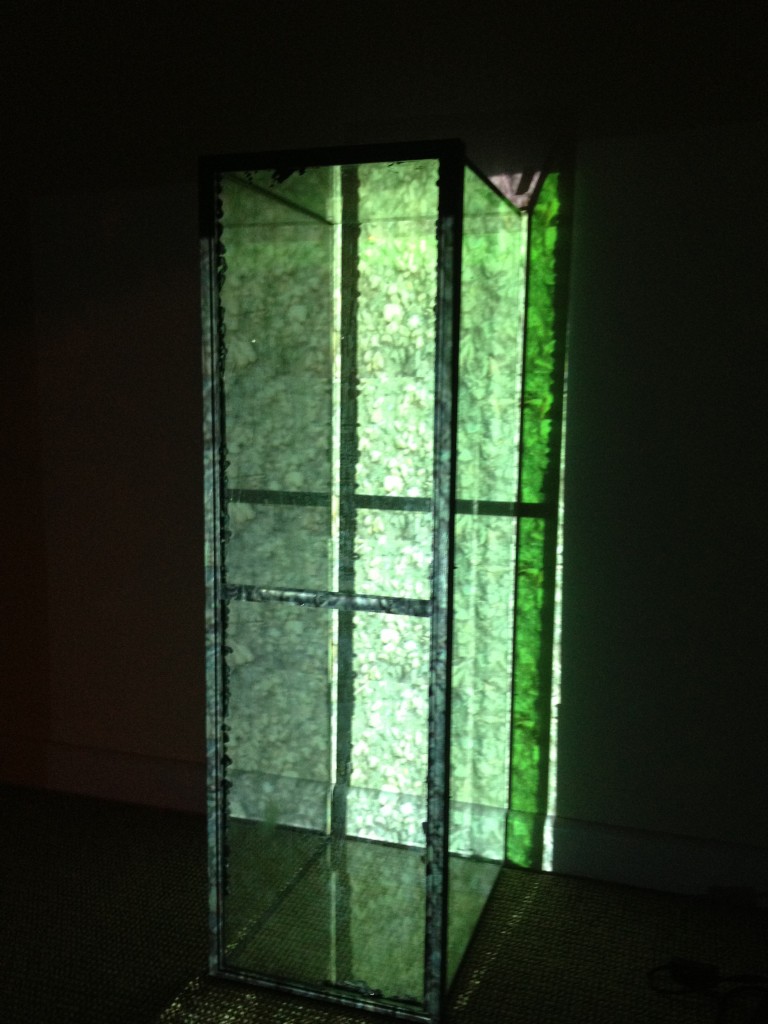
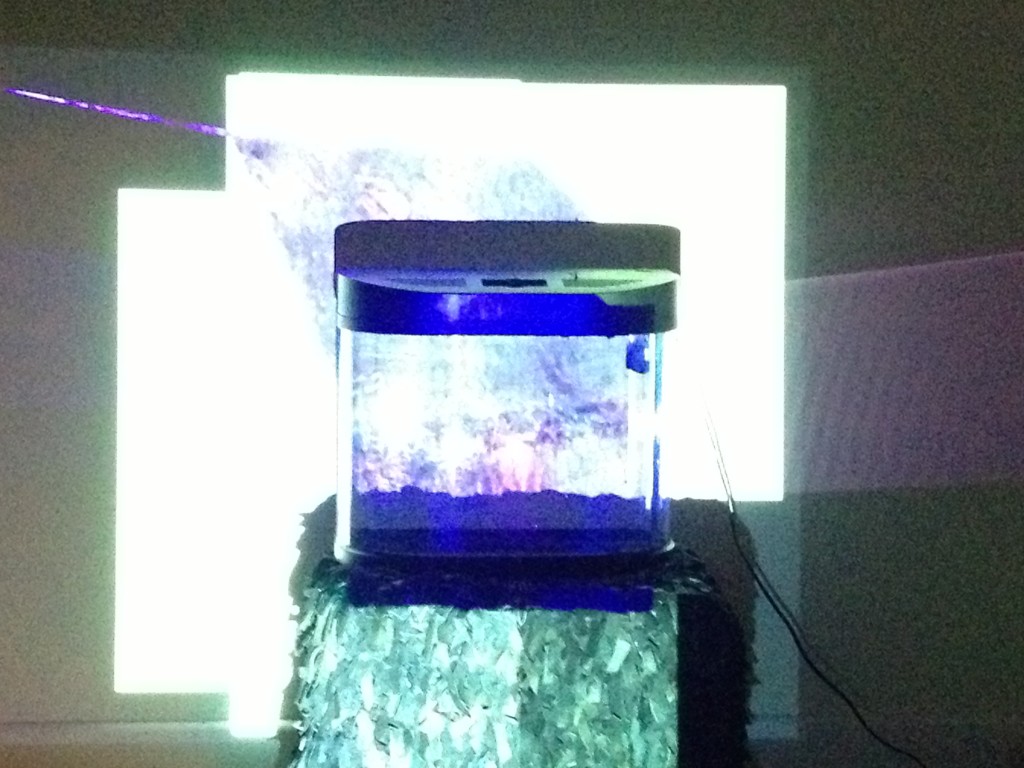
At this point I had decided to use fish tanks for my installation, and had acquired a few through the help of Freecycle. I experimented with the tanks to find the best way of using them and eventually decided to stack them in a kind of totem pole. I tried to edit the film using Painting with Light (projection mapping software) so they could be played at the same time projected in a stack shape, but unfortunately the software kept quitting on me so I eventually switched to using After Effects which worked quite well.
It took rather awhile to get the film edited and positioned correctly to fit the tanks but did manage it successfully in the end. See photos below…
Combining it all together
The final stage was to try and combine it all together into some kind of coherent final piece/installation type thing…
See the final Lost Teddy Found Installation.


Leave a Reply